31 October 2018
Scan Your Fax Document by Using Continuity Camera in macOS - Snapfax
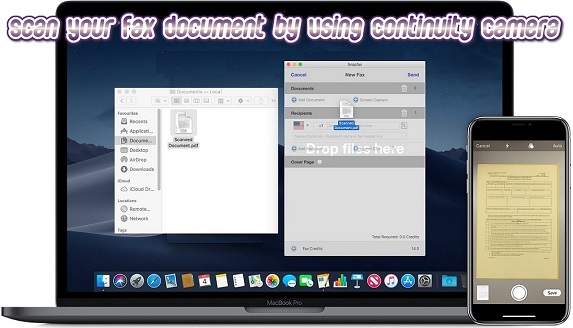
Scan Your Fax Document by Using Continuity Camera in macOS
The new Continuity Camera feature of macOS Mojave and iOS 12 lets Mac users snap a photo or scan a document with their iPhone, iPad or iPod touch and have the image immediately appear on their Mac. We will describe how Continuity Camera works with Snapfax to fax a hardcopy document from your Mac.
System Requirements
- Your Mac must have macOS Mojave and your iOS device requires iOS 12.
- Your Mac and iOS device must be near each other and have both Wi-Fi and Bluetooth turned on.
- Your Mac and iOS device must be signed into iCloud with the same Apple ID that has two-factor authentication enabled.
How to use Continuity Camera
To use Continuity Camera, you need to sign in with the same Apple ID on both your Mac and iOS device, and both need to be connected to the same Wi-Fi network and have Bluetooth enabled.
(You may need to restart your Mac and iOS device to make the Continuity Camera work properly.)
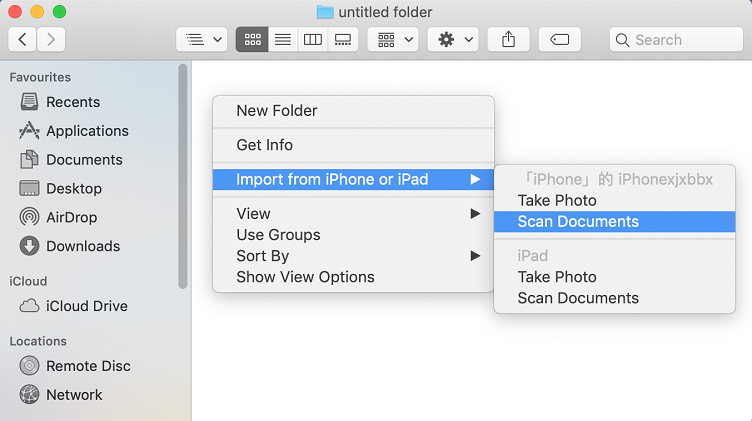
- Launch the Finder from your Mac, and create a New Folder.
- Open the newly created folder, then right-click and select "Import from iPhone or iPad" >> "Scan Documents".
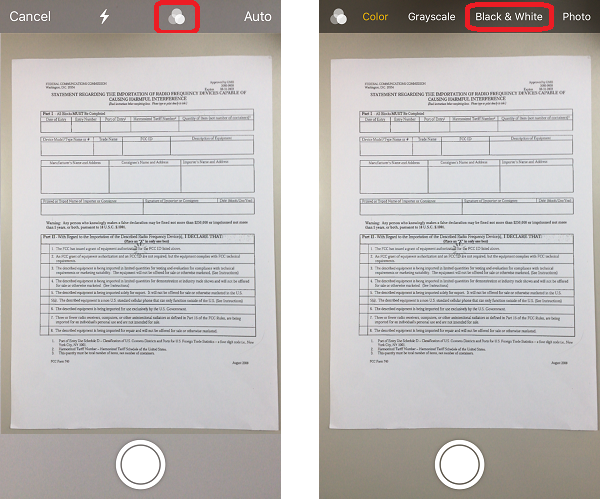
- The Camera on your chosen iOS device will be launched. Change the camera to Black & White mode.
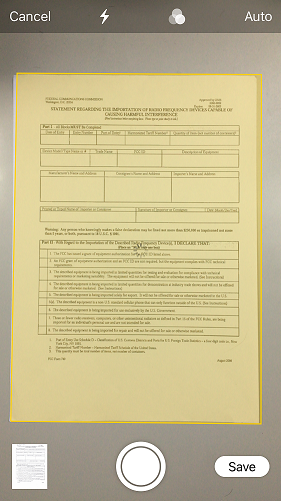
- Scan your document(s). After all documents have been scanned, tap "Save"
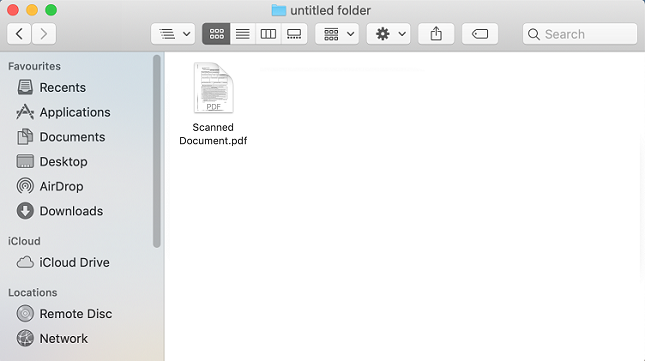
- Your scanned document(s) will appear immediately on your Mac.
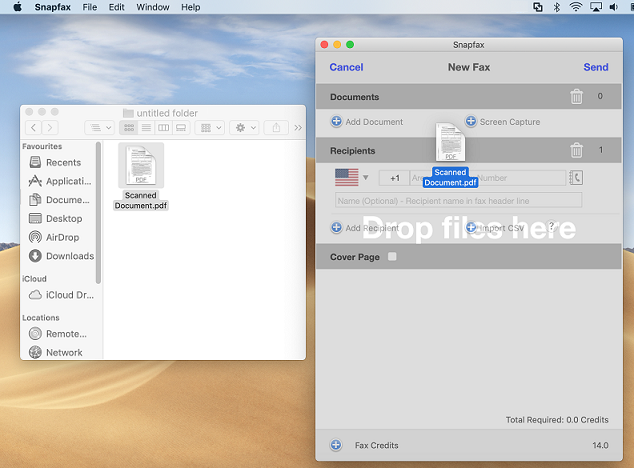
- Launch Snapfax and drag the scanned document from Finder over to Snapfax.
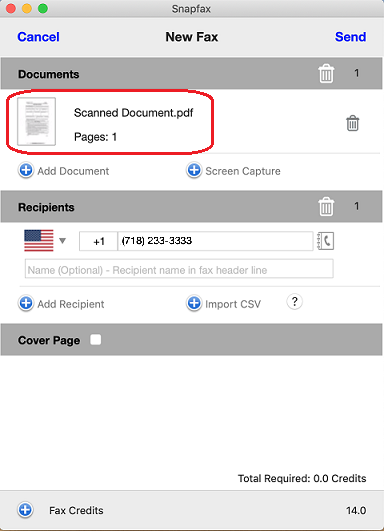
- Once the scanned document has been added to Snapfax, simply input the recipient's fax number to fax out the scanned document and tap Send.

To learn more about Snapfax, please visit http://snapfaxapp.com